Flowers
Sublime Stems (website)
This might be may favorite "extra" of the wedding - the bouquets turned out gorgeous! Kristal was super responsive, even though I was in Hawai'i and she was in the Seattle area. We came up with a concept that fit with my vision and budget. I would highly recommend her.

 Bridal bouquet
Green Cymbidium Orchids
Stephanotis
White Hydrangea
Purple Dendrobium Orchids
Bridesmaid bouquets
Green Cymbidium Orchids
White Hydrangea
Lily Grass

Groom boutonniere
Green Cymbidium Orchid
Purple Dendrobium Orchid
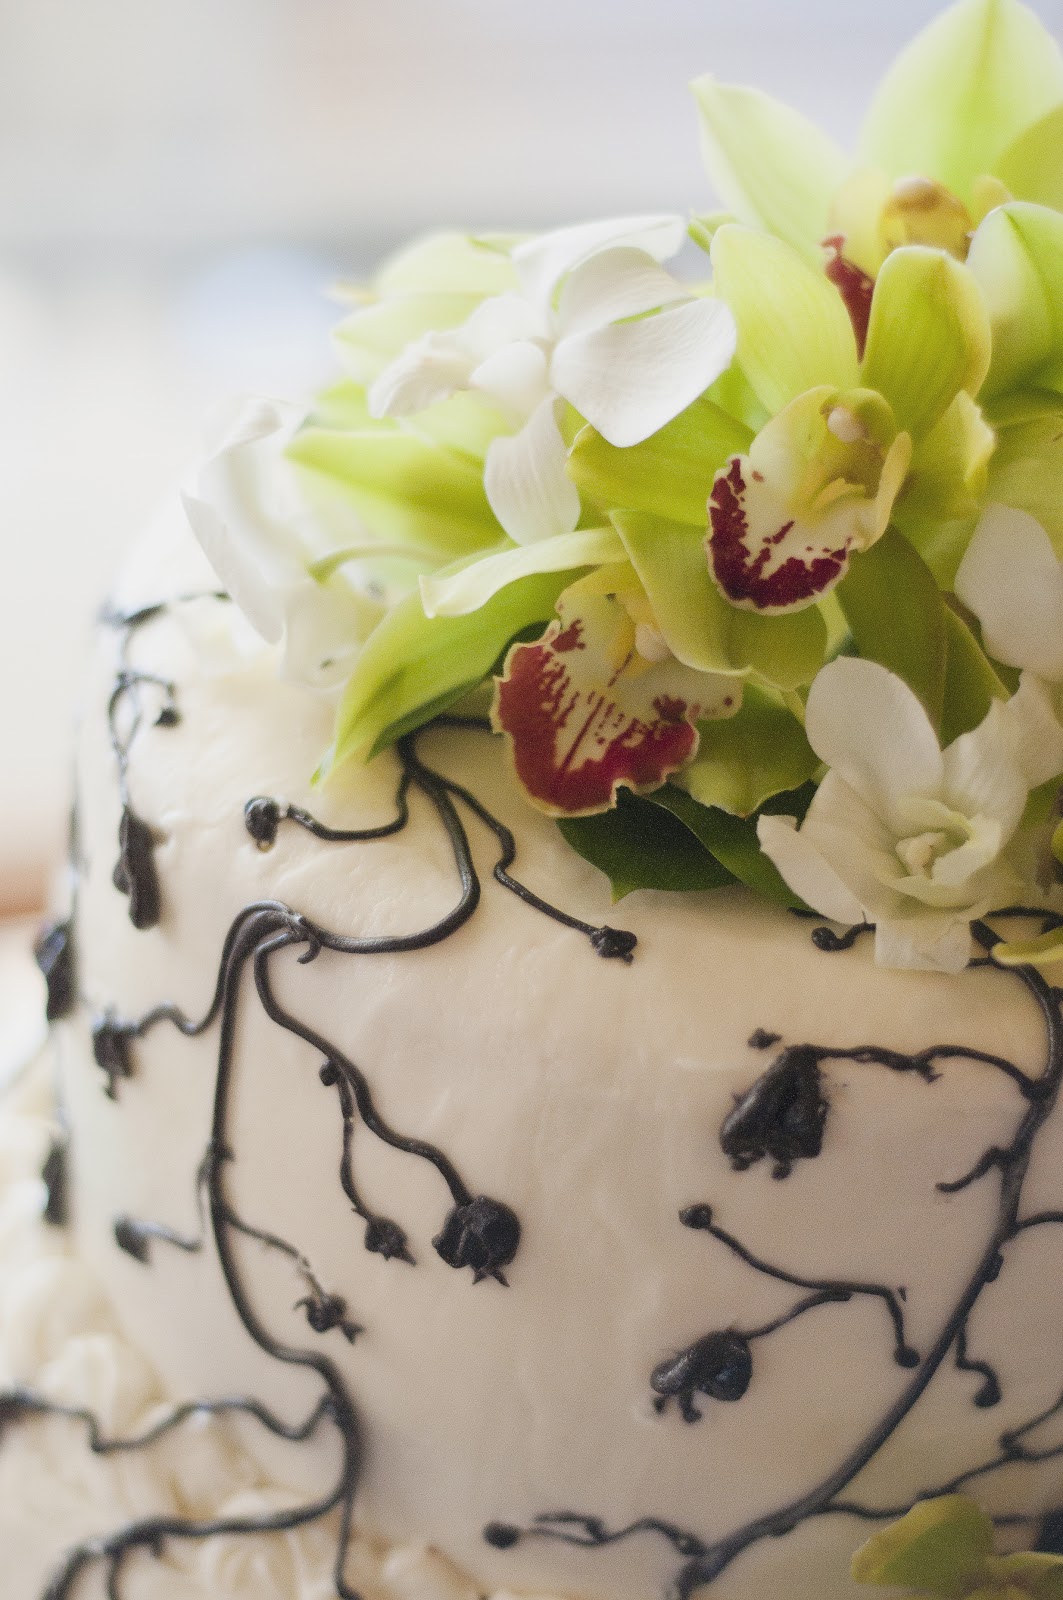
Cake topper & blooms
Green Cymbidium Orchids
White Dendrobium Orchids
Hair & Make-up
Salon Maison (website)

 I definitely didn't want to worry about my own hair and make-up. One of the references we talked to about Ray's mentioned Salon Maison. She said they were awesome and they come to you so the bridal party doesn't have to coordinate traveling to yet another place on a very busy day - especially since we were having a 12:30pm ceremony which meant we had to be ready for pictures by 10:30am. They are a little bit more expensive than going to a salon but I felt like it was a great value in the end.
  Bonnie and her assistance came to our hotel room at 6am!?! to get things rolling. My three bridesmaids and my cousin, our reader, all had their hair styled. They all looked amazing although I'm quite certain none of them were used to quite that much hairspray! It was fun for me to watch them transformed from their usual carefree, beautiful selves to these gorgeous, elegant ladies. I had both hair and make-up as I wanted to have someone who knew what they were doing apply the make-up so it would last all day. I had something like 70 bobby pins in my hair but I LOVED the final result. It was just want I was hoping for and stayed in all day. Of course, I set the airport alarms off when we flew out that night, but it was worth it.
 Ceremony Music
Bella Trio


We lucked out as Justin has a musically talented family and his cousin's string trio was available. They played music for about 30 minutes prior to the ceremony while our guests were being seated. They also played a selection of music during the ceremony. It was amazing and I loved listening to it on our video over and over again! It was a bit of a "luxury" item and I'm certainly very happy we splurged and went with the live music.

Venue (Ceremony & Reception)
Ray's Boathouse (website)


 We had a plated lunch with the wedding cake as dessert. We gave our guests options of steak, salmon and a vegetarian meal - with family from the Pacific Northwest and Colorado, we needed surf and turf! The food was wonderful, the ceremony was beautiful and we had a great experience at Ray's. Amy, our contact, was great to work with even with the distance. We met with her a few times prior to our move and then the rest was done via email. The only part I was a bit disappointed about was the centerpieces - they turned out to be much smaller than I anticipated but overall it was fantastic.
Cake
Lamb Cakes
Justin's mom had a friend who was a retired professional baker. She was willing to come out of retirement to create our cake for Eileen. It was a 3 layer red velvet with live orchids as a topper and accents. She used our invitation orchid as inspiration to create the vines and leaves. It turned out pretty and tasted good as well. Although I have to admit I think I only took one or two bites of it!
Getaway Car
British Motor Coach (website)

 A few weeks before the wedding, I realized that the only car we had available was my 350Z, which is not easy to get into and very small. I had always wanted to have a vintage car as the "getaway" vehicle and lo and behold, up popped British Motor Coach. We requested the Bentley and it was a hit. A lot of people posed with it - Justin's dad, the auto mechanic, gave it a good once over! Our driver was very friendly and we had fun driving around town a bit in it.


